
Installing LAMP on an Ubuntu Server
Introduction
The LAMP stack with Linux, Apache, MySQL, and PHP, is a used web service layer to create and use web apps. This blog will guide you on how to put together a LAMP stack on a server run by Ubuntu.
Connect to Your Instance
Get Public IP Address: Once your instance works, spot its public IP address.
SSH into Your Instance:
ssh -i /path/to/your-key-pair.pem ubuntu@your-instance-public-ip
Install Apache
sudo apt install apache2 -y
Enable Apache to Start on Boot
sudo systemctl enable apache2
Verify Apache Installation
Open up your browser. Then, head to the public IP of your instance. You'll see the welcome page of Apache by default.
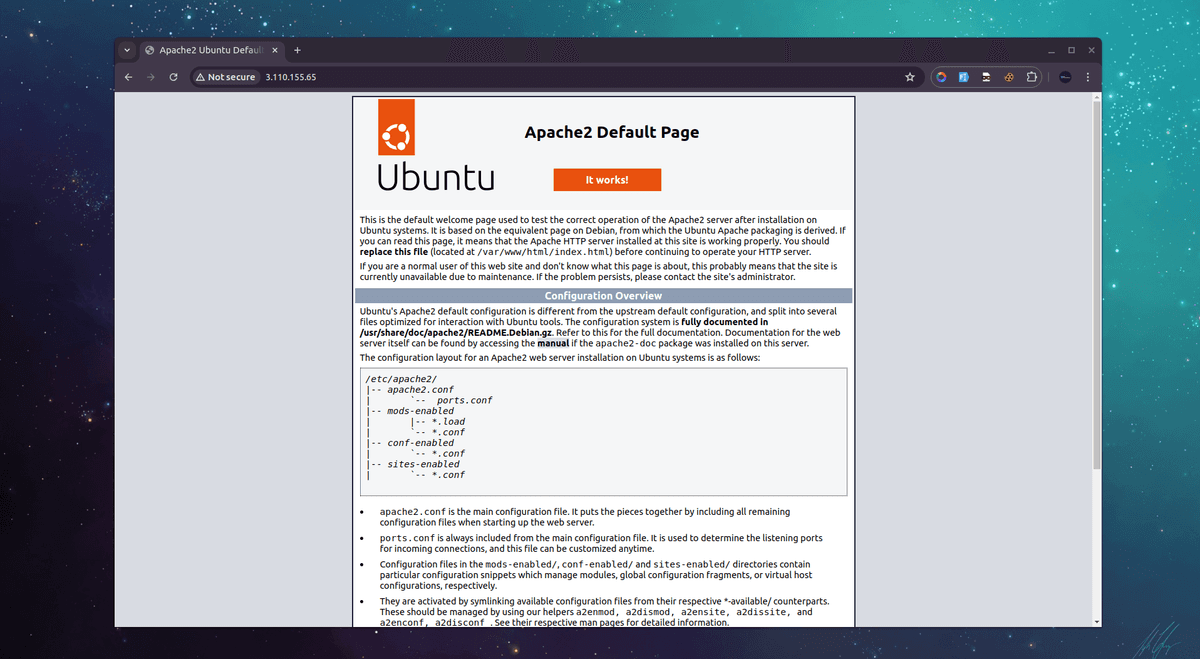
Apache Home page Ubuntu
Install MySQL
sudo apt install mysql-server -y
Secure MySQL Installation
sudo mysql_secure_installation
Do as the instructions say to fix the root password and make your installation safe.
Verify MySQL installation
Verify MySQL installation by logging into MySQL using.
mysql -u your_username -p
Enter password when prompted.
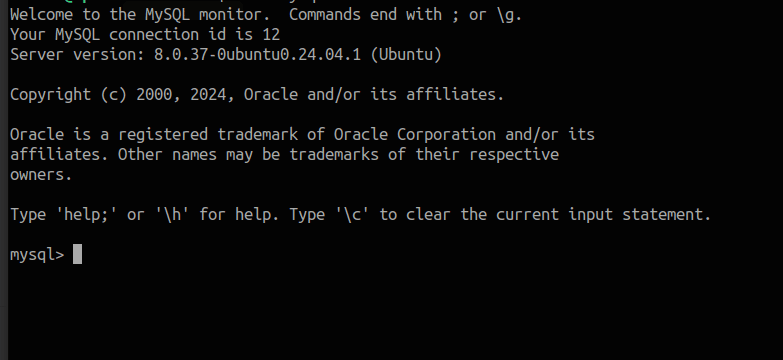
MySQL Welcome page
Install PHP and Common Extensions
sudo apt install php libapache2-mod-php php-mysql -y
Restart Apache to Load PHP Module
sudo systemctl restart apache2
Test PHP
Create a PHP file
sudo vim /var/www/html/test.php
Write the following PHP Code:
<?php
phpinfo();
Save and exit.
Verify PHP Installation
Launch your web browser and head to http://your-instance-public-ip/test.php. You are supposed to see a PHP info page that shows the PHP setup.
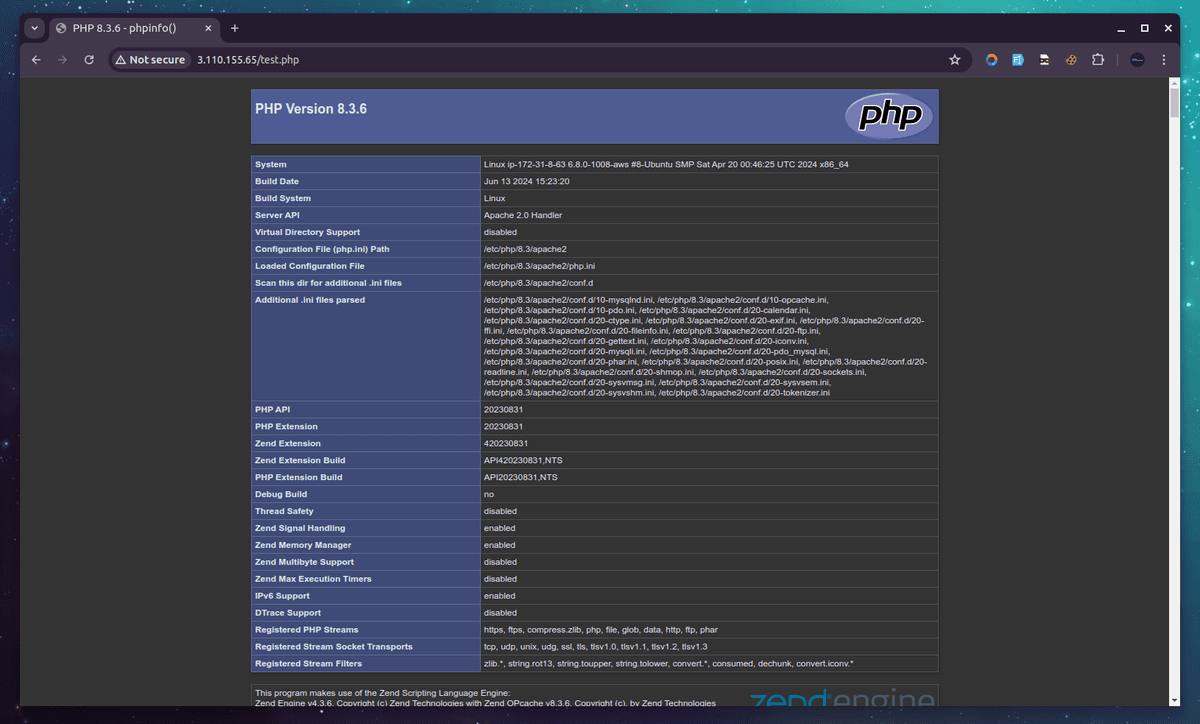
phpinfo()
Secure Your Server
Configure UFW Firewall
sudo ufw allow OpenSSH
sudo ufw allow 'Apache Full'
sudo ufw enable
Conclusion
You now have a fully functional LAMP stack running on an Ubuntu server. This setup provides a robust environment for developing and deploying web applications. Remember to regularly update your software and monitor your server for security issues.