
A Comprehensive Guide to Signing Commits with GPG

In the bustling metropolis of GitHub, developers collaborate, create, and share code like seasoned artisans sharing their finest crafts. But just like any valuable treasure, ensuring the authenticity and origin of these creations is paramount. This is where signed commits come in, wielding a digital seal of trust to safeguard your code and empower transparent collaboration.
What are signed commits?
Think of a signed commit as a personalized stamp on your code. It uses cryptographic signatures – a digital handshake between your identity and your code – to prove you authored the changes. This verifiable stamp ensures:
Identity protection: No one can impersonate you and tamper with your code.
Provenance tracking: Trace the origin of every change with confidence.
Increased trust: Collaborators and users can rely on the authenticity of your contributions.
How do you set up a signed commit?
GitHub supports several GPG key algorithms. You may encounter an error if you try to add a key generated with an unsupported algorithm.
Note: Before generating a new GPG key, make sure you've verified your email address. If you haven't verified your email address, you won't be able to sign commits and tags with GPG.
Steps to generate GPG key
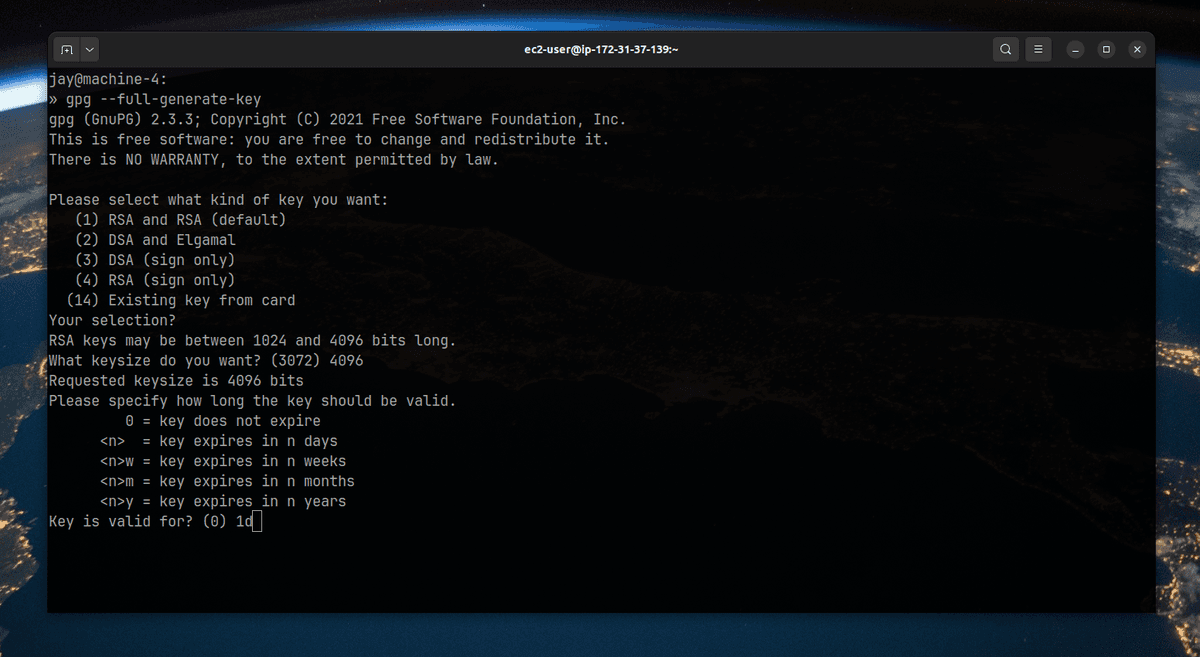
Open your terminal and run the following command to generate a GPG key.
gpg --full-generate-key
2. Select the kind you want, and press enter to choose the default RSA.

default-rsa
3. Select the key size you want default is 3072, the maximum we can set is 4096.
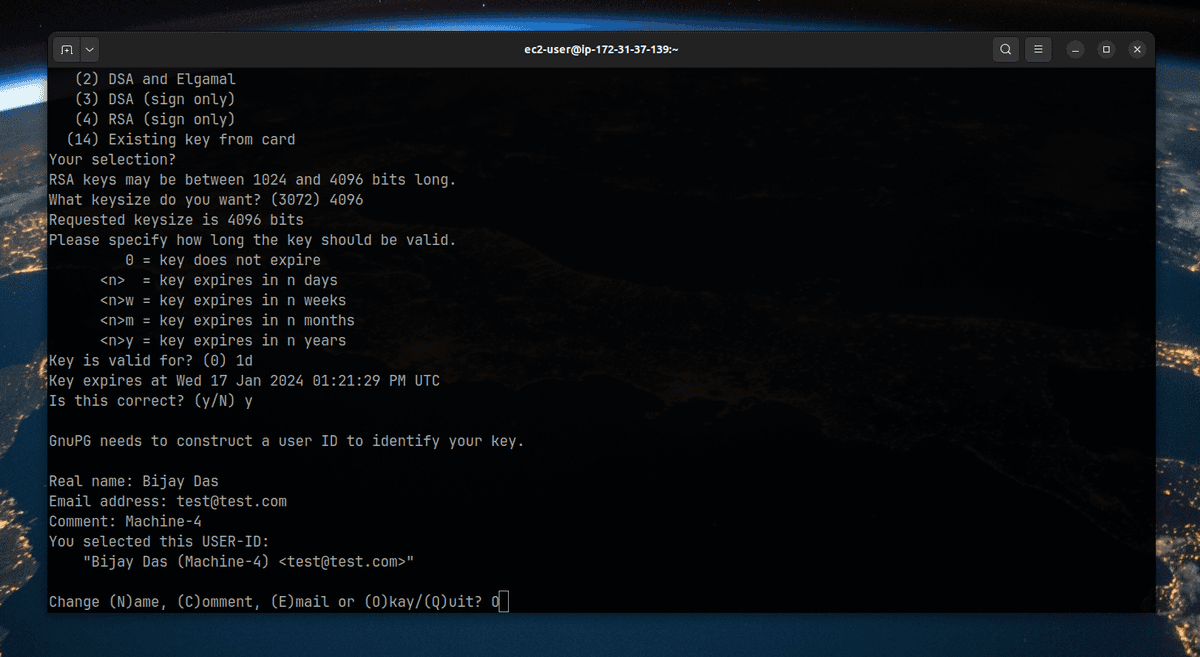
4. Select the length of time the key should be valid.
pgp-key-duration
5. Verify by typing y that all the selections are corrent.
6. Enter you user id information
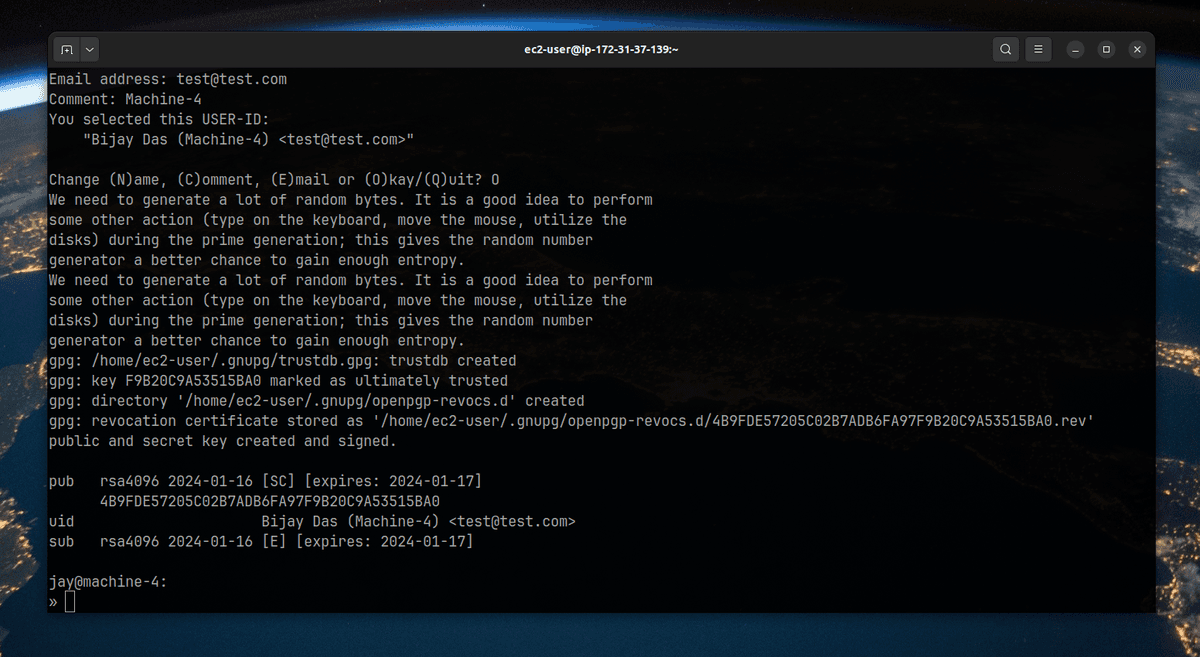
7. After entering the user details enter O to confirm
gpg-press-O-to-confirm
8. Enter the passphrase. This will be required every time you need to sign a commit.
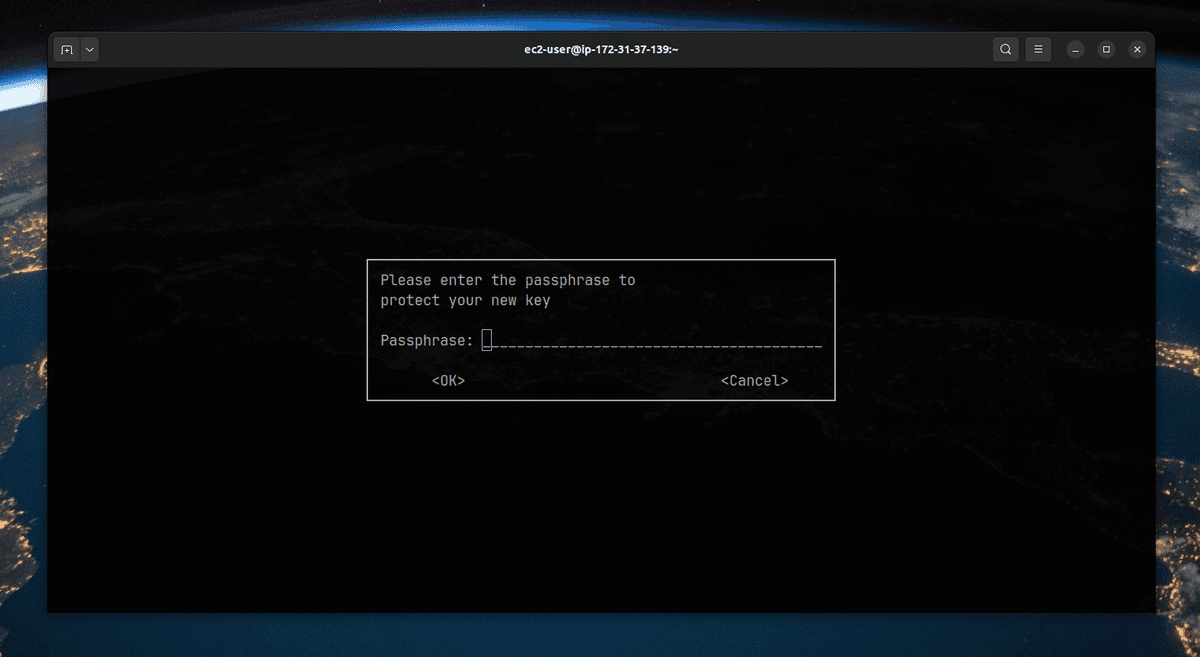
gpg-enter-passphrase
Telling git about the signing key
List the GPG keys with the following command
gpg --list-secret-keys --keyid-format=long
list-gpg-keys
Now look for the sec and copy the string after rsa4096. This is your signing key, and it will be used to sign your commits.
To set your primary GPG signing key in Git run the following command.
git config --global user.signingKey F9B20C9A53515BA0
Now, commit your code with the following code
git commit –S –m "your-commit-message"
Then it will ask you to enter the passphrase. Enter it, and done. You have signed your commit locally.
To verify if the commit has been signed, get the commit hash and run the following command.
git verify-commit your-commit-hash
Congratulations, you have signed your commit locally now it's time to push your code to GitHub.
$ gpg --armor --export 3AA5C34371567BD2
# Prints the GPG key, in ASCII armor format
You will get similar result.

armor-export
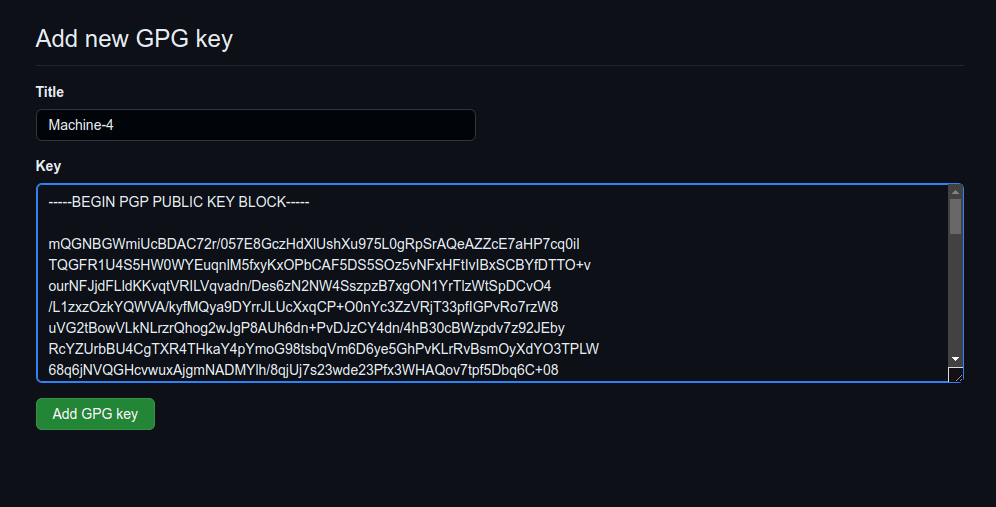
Now copy the PGP public key and add this to GitHub's GPG keys section https://github.com/settings/keys
gh-gpg-keys
Now add and push the code to GitHub, and you will see a commit with a verified badge.

verified-commit
Note: To learn more visit GitHub.